 Shinechip
How to Wire a Mirror Touch Switch (12V and Mains-Input Types)
Published 2026-10-09 · Shinechip engineering team
A mirror touch switch sits between the power source and the LED strip. A low-voltage switch goes after a 12V or 24V LED driver; a switch with a built-in power supply takes mains input directly and feeds the strip itself.
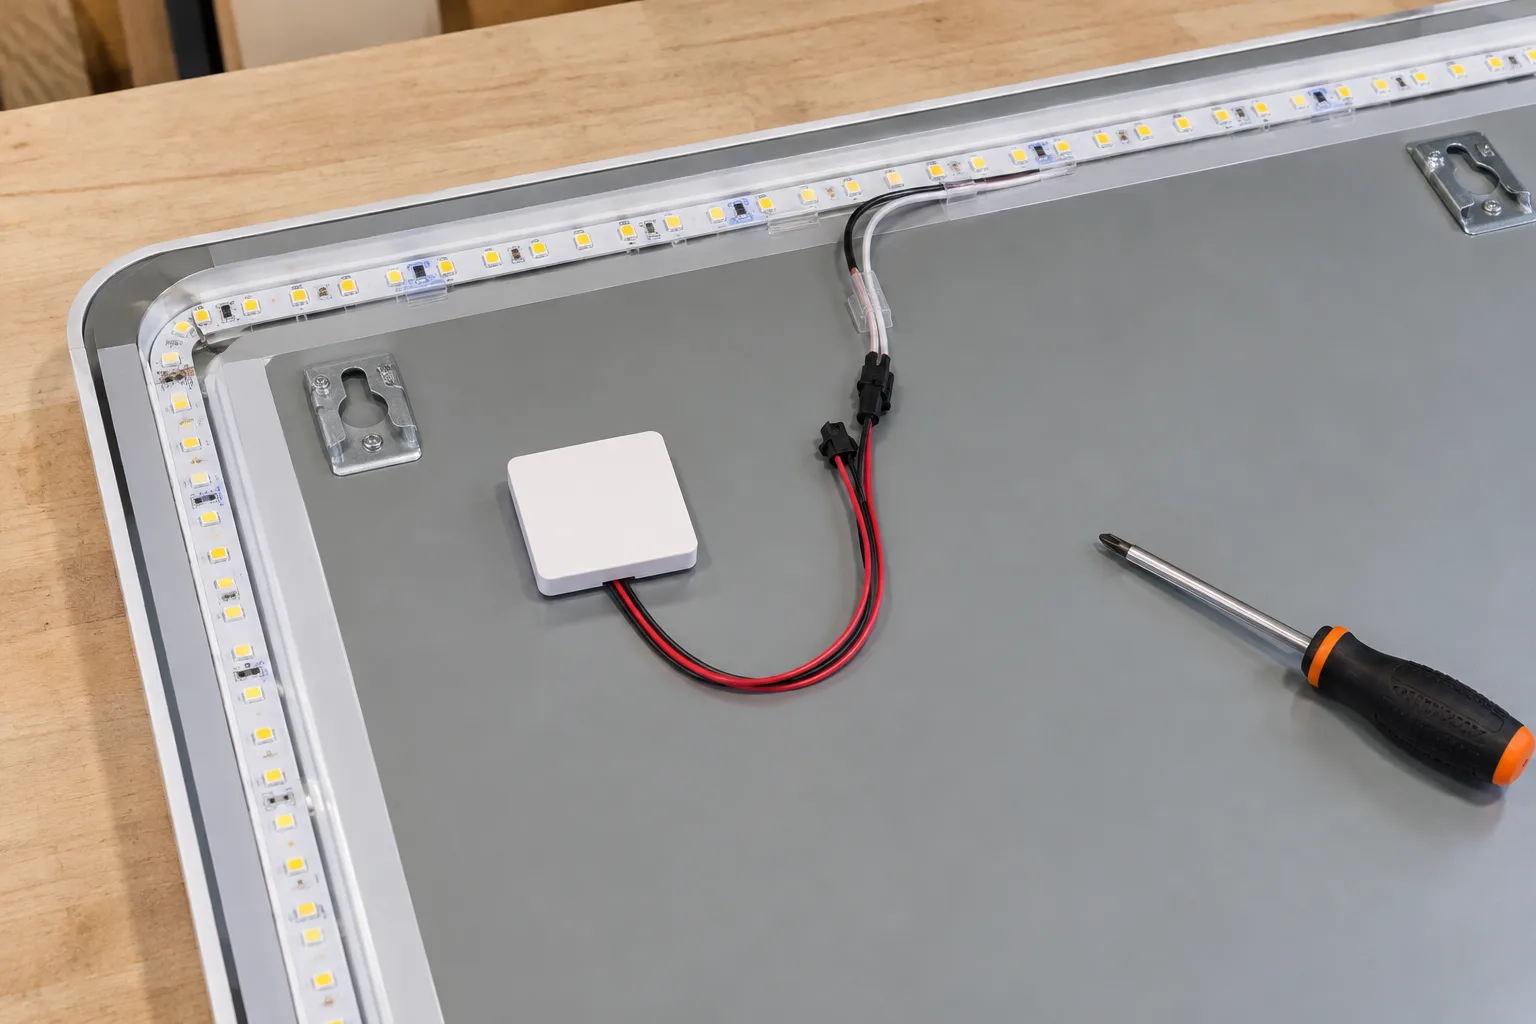
Which type of mirror switch do I have?
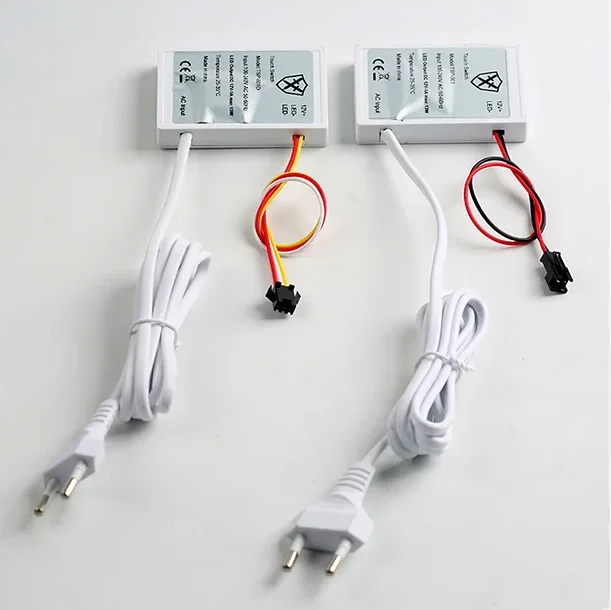
Look at the input. Low-voltage switches such as the TD100 series are marked 12V or 12-24V DC and need a separate LED driver. Switches with a built-in power supply, such as the TSP-001 version with an internal driver, take 110V or 220V mains and output 12V DC to the strip.
If the label or listing shows an AC input and a DC output, it is the built-in type. If it only shows a DC voltage, it is the low-voltage type.
What is the wiring order for a low-voltage switch?
Mains goes to the LED driver, the driver's DC output goes to the switch input, and the switch output goes to the LED strip. Keep positive and negative the same way round at every connection; most modules use a red lead for positive.
Size the driver for the strip, not for the switch. Then check that the strip current stays below the switch's rated load. For example, a 12V strip drawing 36W takes 3A, which suits a switch rated 3A or more.
How do I wire a switch with a built-in power supply?
Connect the mains lead (or plug) to the switch input and the LED strip to its DC output. There is no separate driver. Check the output rating against the strip: a 12W output at 12V supplies 1A, enough for roughly 12W of strip.
Where should the touch module be stuck on the glass?
Stick the module to the back of the mirror directly behind the touch icon or the clear window in the silvering, with the sensing face flat against the glass. Capacitive mirror switches are specified for a glass thickness range, typically 1-5 mm, so check the model before choosing thicker glass.
How is a defogger pad connected?
Use a mirror switch with a defogger output (for example the TSP-002 or TD103 series) or a relay. The pad is wired to the defogger output so it switches with the light or from its own button. Match the pad voltage to that output: a 12V DC pad on a 12V system, a mains pad on a mains output.
What should I test before closing the mirror?
Power the mirror and check that one touch turns the light on and off, that holding the touch point dims the light (on dimming models), and that the colour steps through warm, neutral and cool white on 3-colour models. Then check the defogger output if fitted. Secure loose leads so they do not rest on the defogger pad.
Figures are from our product listings or worked out from them. Check the specific model before installation.
Parts to use
 Featured▶ VideoTD100
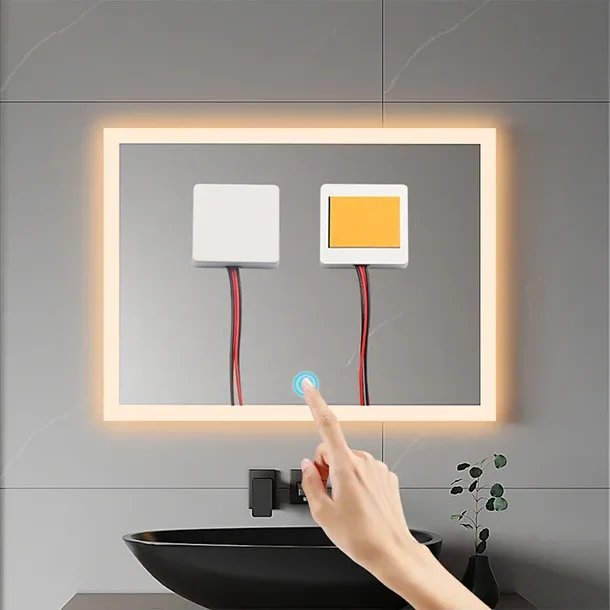
TD100 / TD100D Mirror Touch Dimmer Switch, 12-24V DC
 FeaturedTD102D
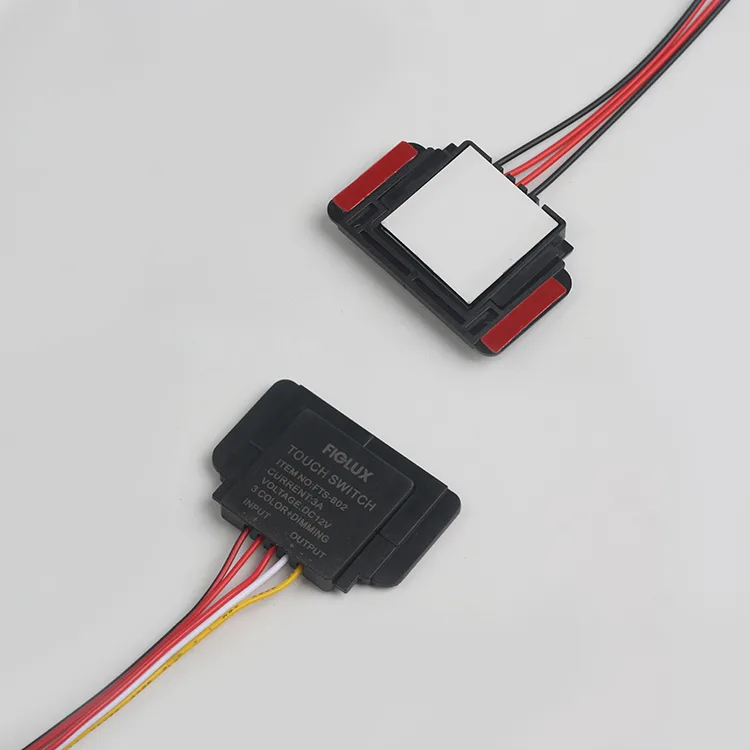
TD102D 3-Colour Mirror Touch Dimmer, 12V 36W IP22
 Featured▶ Video
12V 12W One-Colour Mirror Touch Dimmer Switch
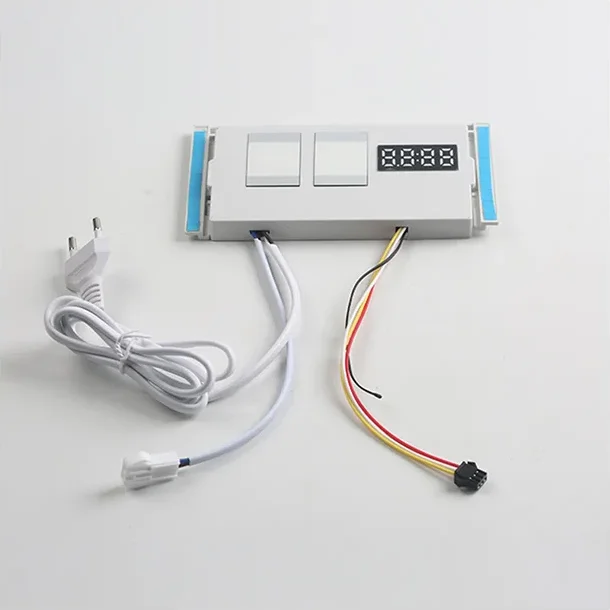 FeaturedTSP-003D
TSP-003D Mirror Switch with Time & Temperature Display, 12V
Tell us what you are building
Send the switch type, voltage, load and quantity, or a photo of the switch you use today. We reply with model options, MOQ, price and lead time.