 Shinechip
Wiring a CCT (3-Colour) Mirror Light: 2-Wire vs 3-Wire
Published 2026-11-01 · Shinechip engineering team
A 3-colour mirror light is two LED channels, warm and cool, mixed at the switch. Two-wire systems step colour by reversing polarity or pulsing the supply; three-wire systems switch each channel directly. Three-wire is easier to commission and keeps colour memory, two-wire reuses existing cable but needs a driver that tolerates polarity reversal.
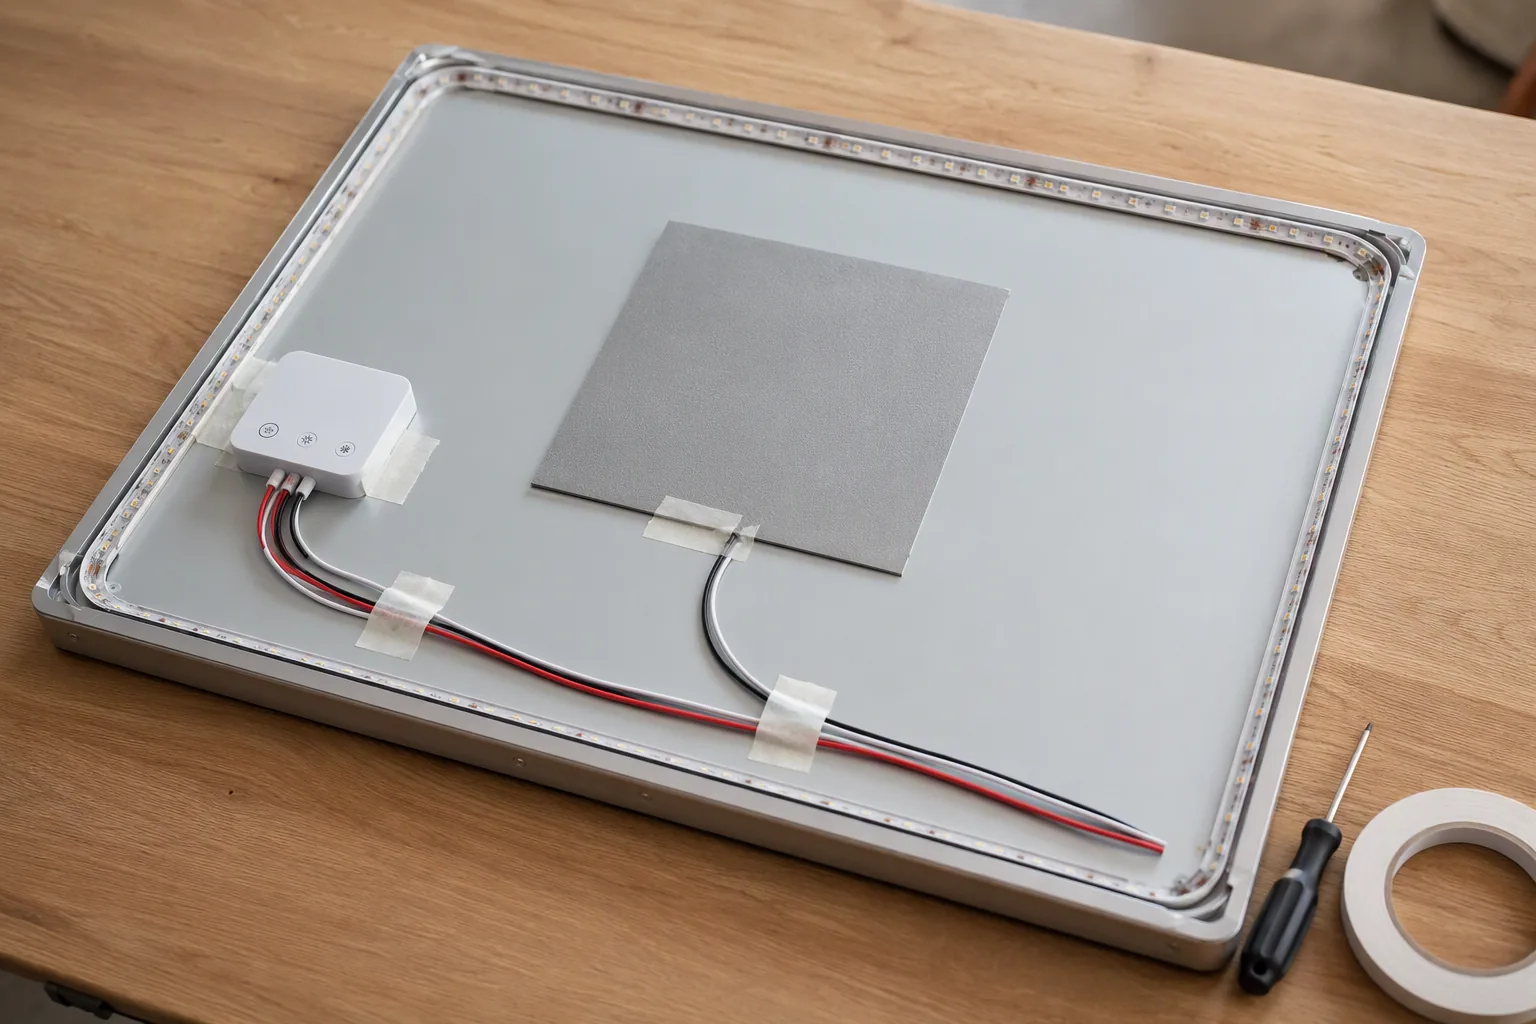
What 3-colour actually means
A 3-colour (CCT) strip or mirror panel carries two LED channels: typically 2700-3000K and 6000-6500K. Running one channel gives warm or cool; running both at set ratios gives neutral and the steps in between. The switch does the mixing, either with two buttons (colour up/down) or by cycling through three fixed points.
That is why a 3-colour switch is not interchangeable with an on/off switch even when the housing looks the same: it has to drive two outputs, or one output with a defined switching sequence.
Two-wire control: polarity and pulse switching
Two-wire modules send the colour command over the same pair that carries the power. The common methods are polarity reversal (swap + and - to move to the next colour) and pulse switching (briefly interrupt the supply and count the interruption). Both work with the existing two-core cable, which is why they sell well on retrofit jobs.
The cost is compatibility. The driver must tolerate a reversed input or a pulsed supply without latching off, and some triac dimmers cannot be combined with pulse switching because the dimmer interprets the pulse as a fault. Colour memory after a power cut is also less reliable on the cheapest modules.
Three-wire control: one wire per channel
Three-wire modules switch the warm and cool channels separately over a common return. Commissioning is straightforward, colour memory is held by the switch, and dimming can be applied to both channels together. The requirement is a three-core cable from the switch to the strip or driver, which is a problem only in retrofits where the wall is closed.
For OEM work we usually recommend three-wire on new builds and two-wire only where the cable is fixed and the driver is known to support it.
Where the driver sits
Two arrangements exist. A mirror switch with a built-in power supply takes mains in and outputs 12V to the strip, with the channel switching done inside the switch. A low-voltage switch sits after a separate 12V or 24V driver.
In both cases the driver must be rated for the total of both channels at full mix (which is close to the sum of the two channel wattages), plus headroom, plus the switch electronics. A 12W built-in supply tops out near 12W of strip; that is roughly 1 m of a mid-power 3-colour strip, so check the actual W/m before assuming a kit covers a 1.2 m mirror.
Adding a defogger on the same mirror
A defogger pad is a resistive heater, not a dimmable load. It should have its own output or its own circuit, its own switch or timer, and it must not be connected to the dimming output. Where a single switch controls light and defogger together, the pad runs whenever the light is on, which is the most common complaint from end users: the mirror heats for hours and never cools.
Specify a switch with an independent defogger button, or a timed defogger output. Pads are commonly 40-60 W for a 300 x 400 mm size, so the mains circuit, the switch contacts and the cable all have to carry that separately from the LED load.
Commissioning checks
Step through every colour point and note the sequence from cold start. Cut the power for a minute and confirm the switch returns to the last colour (memory) or to a defined default. Dim to the lowest level and look for flicker or colour shift, which usually means the driver is under-sized or the strip is at the edge of its voltage window. Run for 30 minutes and check the driver and switch housing temperature by hand; if either is uncomfortable to hold, the headroom is too small. Keep low-voltage leads away from the defogger pad so heat does not cook the insulation.
Figures are from our product listings or worked out from them. Check the specific model before installation.
Parts to use
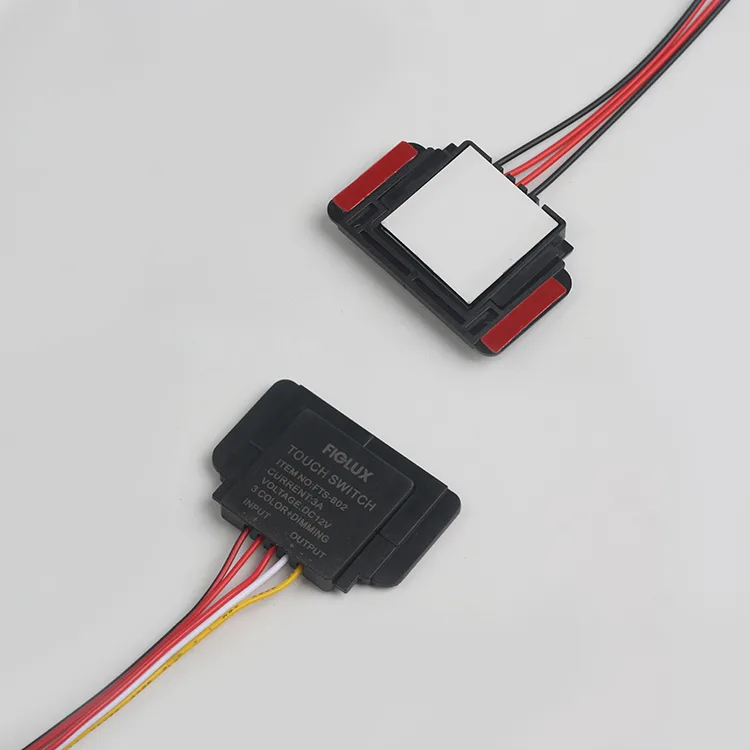 FeaturedTD102D
TD102D 3-Colour Mirror Touch Dimmer, 12V 36W IP22
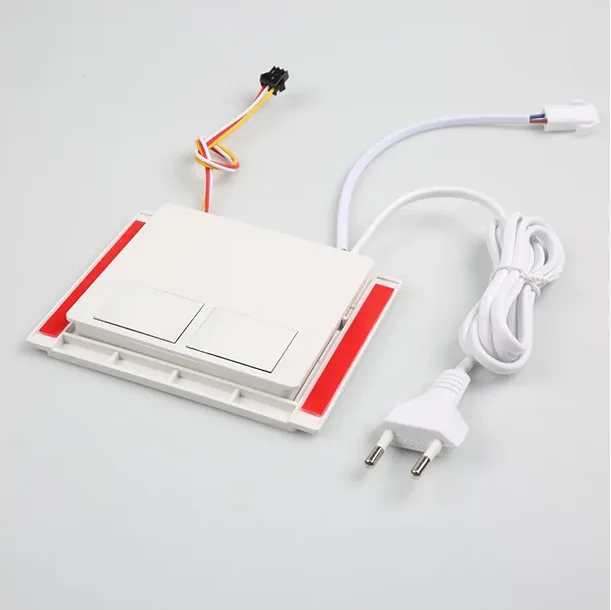
Two-Key CCT Mirror Touch Switch with Defogger, 12W
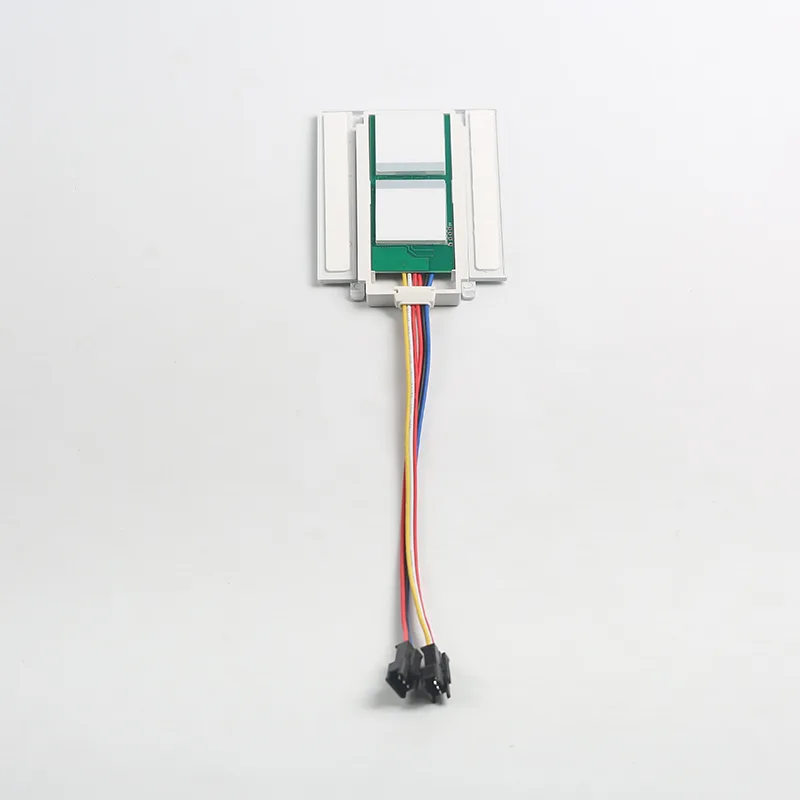 FWS-6D
 Dual-Button Mirror Touch Switch with Defogger, 24V 60W
 TD103
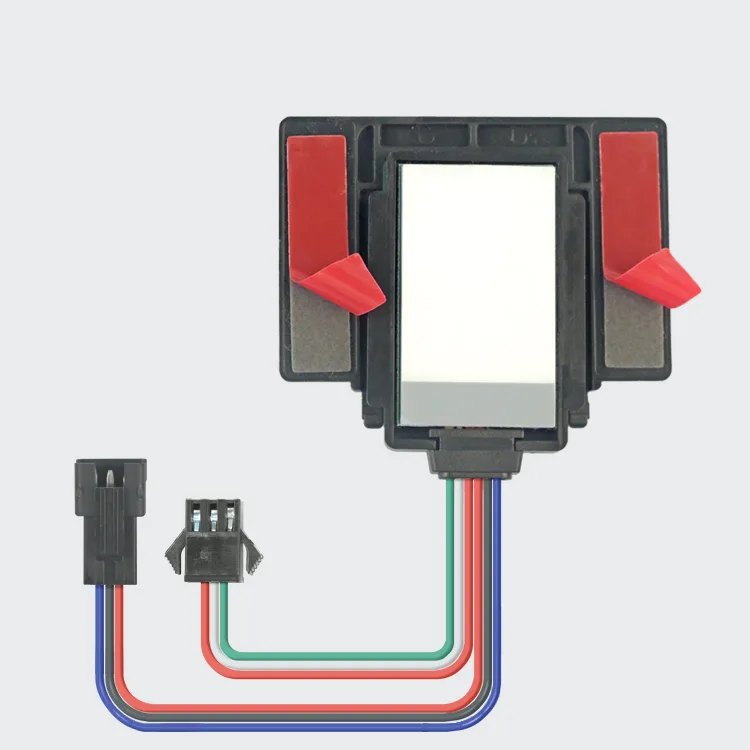
TD103 / TD103D Mirror Touch Switch with Defogger, 12V 60W
Tell us what you are building
Send the switch type, voltage, load and quantity, or a photo of the switch you use today. We reply with model options, MOQ, price and lead time.