 Shinechip
How to Install a Mirror Defogger Pad
Published 2026-10-09 · Shinechip engineering team
To install a mirror defogger pad, match the pad voltage to your supply, clean the back of the mirror, stick the pad flat behind the area that must stay clear, and wire it to a defogger output or its own switch. The whole job takes a few steps, and the common problems are a wrong voltage or air trapped under the pad.
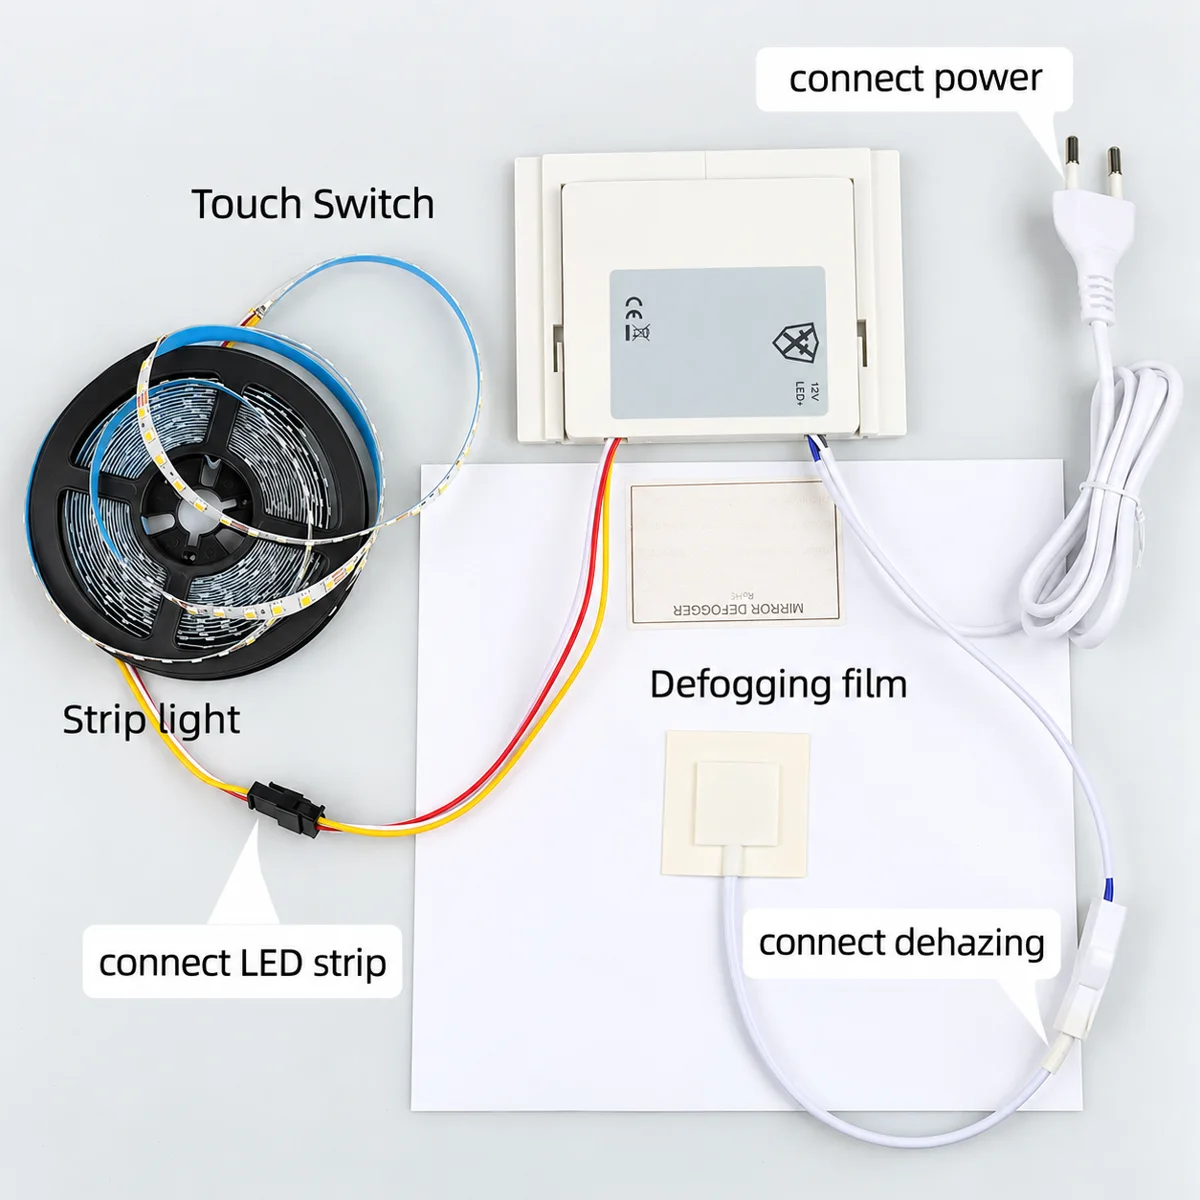
- What do I need before installing a mirror defogger pad?
- Where on the mirror should the pad go?
- How do I stick the pad to the back of the mirror?
- How do I wire the defogger pad?
- Which switch can control the defogger pad?
- How do I test the pad after installation?
- What mistakes cause a defogger pad not to work?
What do I need before installing a mirror defogger pad?
You need a pad in the right voltage, a switch or output to control it, and a clean, dry mirror back. Our TSP-3030 mirror defogger pad (also called a mirror demister pad) is a 300 x 300 mm PET heating film that sticks to the back of the mirror. It is available for 230V AC, 120V AC, 12V DC or 24V DC supply, so choose the version that matches the power already in the mirror.
Work out the pad power from its area and power density. 300 mm x 300 mm is 3 dm x 3 dm = 9 dm². At 1.5-2.5 W/dm², 9 x 1.5 = 13.5 W and 9 x 2.5 = 22.5 W, so allow up to 22.5 W for one TSP-3030 pad.
Have a lint-free cloth, a cleaner that is safe for mirror backing paint, and cable clips ready before you start.
Where on the mirror should the pad go?
Put the pad behind the part of the mirror people look into, usually the centre at face height. A defogger pad keeps the area it covers clear of fog, so the area outside the pad can still fog up.
Keep the pad clear of the touch switch module and any clear windows in the silvering, such as the touch icon or backlight cut-outs. The touch module needs direct contact with the glass, and a pad between them stops it sensing. Leave a path for the LED strip and its leads so they do not sit on top of the pad.
For a mirror wider than one pad, plan more than one pad or ask us about a custom size, then check the total wattage before choosing the switch.
How do I stick the pad to the back of the mirror?
Clean the surface, position the pad, then peel the liner gradually while pressing the pad flat from the centre outwards.
1. Disconnect the mirror from power before handling any wiring.
2. Wipe the back of the mirror with the cloth and let it dry fully. Adhesive does not bond well to dust or a damp surface.
3. Mark the pad position with a pencil or tape, with the 20 cm lead pointing towards where the switch or driver sits.
4. Peel back part of the liner, align the pad to your marks and press that edge down. Keep peeling and pressing towards the far edge.
5. Smooth the pad from the centre outwards with a flat hand or a soft roller to push out air. Trapped air leaves a spot that heats unevenly and may stay fogged.
Do not cut, fold or pierce the pad. The heating track runs through the film, and damage to it can stop the pad heating or create a hot spot.
How do I wire the defogger pad?
Connect the pad lead to a defogger output or to its own switched supply at the same voltage as the pad.
For a 12V DC pad, one TSP-3030 draws up to 22.5 W / 12 V = 1.875 A. For a 24V DC pad, it is 22.5 W / 24 V = 0.94 A. Add this to the LED strip load when you size the driver. For example, a 24 W strip plus a 22.5 W pad on 12V is 46.5 W, and 46.5 W / 12 V = 3.875 A.
For a 230V AC or 120V AC pad, the pad connects on the mains side. Switch off the circuit and have a qualified electrician make the mains connections, following the local rules for electrical work in bathrooms.
Fix the pad lead with clips so it cannot rest on the LED strip or rub against the mirror frame, and keep the low-voltage and mains leads apart.
Which switch can control the defogger pad?
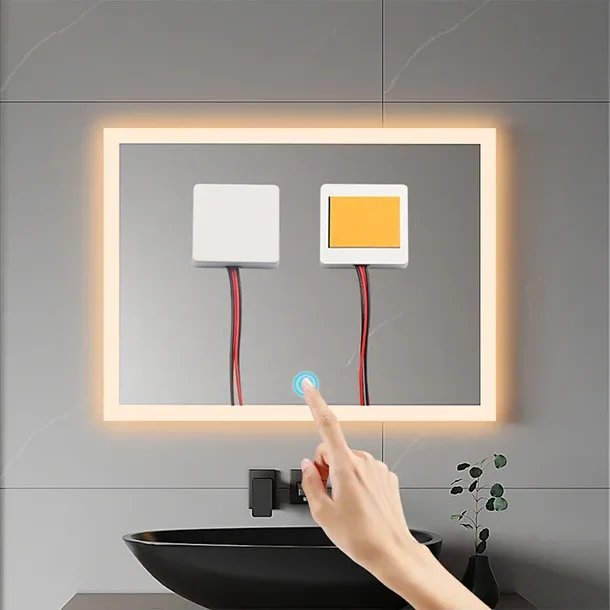
Use a mirror touch switch with a defogger function, or switch the pad separately. Our TD103 / TD103D mirror touch switch with defogger is a one-button capacitive switch rated 12V DC and 60W, working through 1-5 mm glass in a 66 x 62 x 8 mm black housing with a 20 cm lead. TD103 dims a single-colour strip and TD103D adds three-colour adjustment. The listing gives 60W; confirm with us whether that covers the strip and the pad together before you connect a large pad.
Our two-key CCT mirror touch switch with defogger, offered as TSP-002 and TSP-002D, puts the light and the anti-fog pad on separate keys. Its listing describes a built-in power supply for AC 110-240V and a 12V light output of 12W, in a white 114 x 97 x 13 mm housing.
Switches such as the TD100 / TD100D touch dimmer, the TD102D 3-colour dimmer and the TSP-001 / TSP-001D touch switch control the light only. If you use one of these, the defogger pad needs its own switch or a relay.
How do I test the pad after installation?
Power the mirror, switch the defogger on and check that the glass over the pad warms. The TSP-3030 is listed for a 10-20 °C temperature rise on the glass, so you should feel the area warm compared with the rest of the mirror after a short time.
Then run a hot shower or hold the mirror near steam. The area over the pad should stay clear while the edges fog. If one patch stays fogged, check for trapped air under the pad at that spot.
Finally, check that the light still responds to touch with the defogger running, and that no lead touches the pad before you close the mirror.
What mistakes cause a defogger pad not to work?
The usual causes are a voltage mismatch, poor contact with the glass, or an overloaded output.
A 12V or 24V pad connected to mains will be destroyed, and a mains pad on a 12V output barely warms. Air bubbles and dusty glass leave cold spots. A pad that shares a driver with the LED strip can push the total load over the driver or switch rating, so add both loads with the formula above. A pad placed under the touch module stops the switch working, and leads left resting on the pad can be damaged by heat over time.
Figures are from our product listings or worked out from them. Check the specific model before installation.
Parts to use
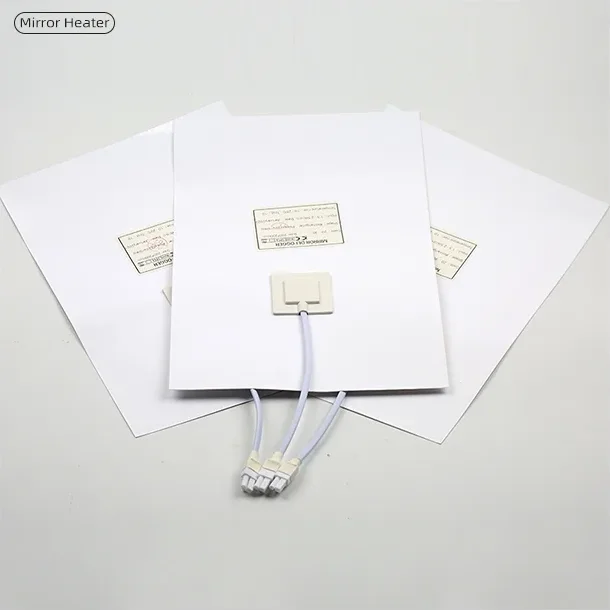 TSP-3030
 Mirror Defogger Pad, 300 x 300 mm
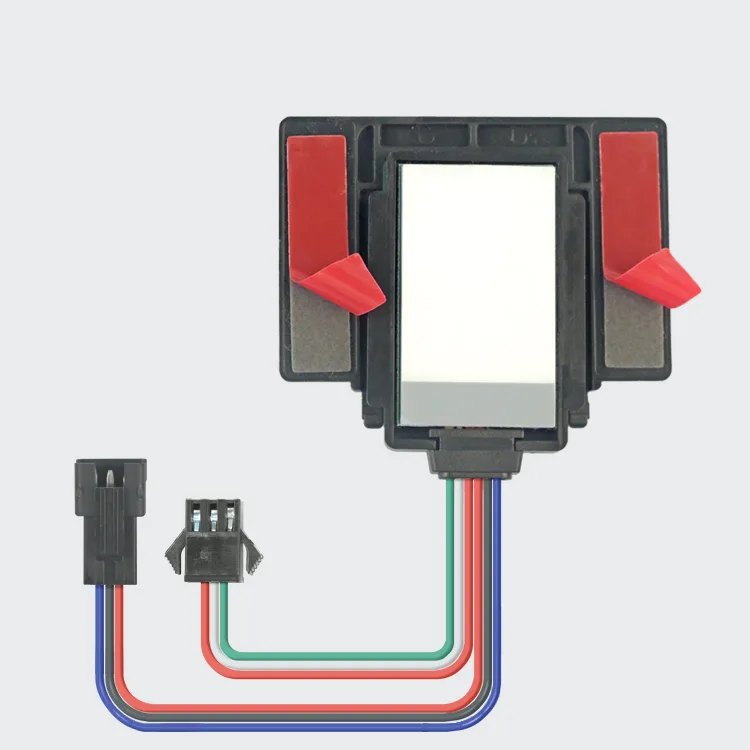 TD103
TD103 / TD103D Mirror Touch Switch with Defogger, 12V 60W
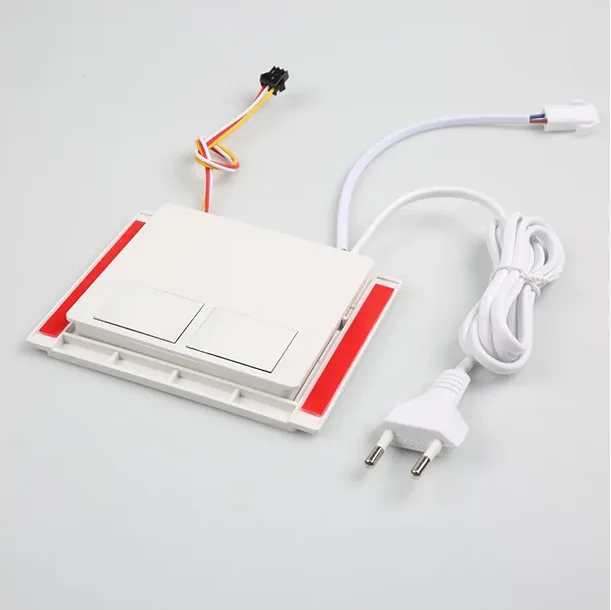
Two-Key CCT Mirror Touch Switch with Defogger, 12W
 Featured▶ VideoTD100
TD100 / TD100D Mirror Touch Dimmer Switch, 12-24V DC
Tell us what you are building
Send the switch type, voltage, load and quantity, or a photo of the switch you use today. We reply with model options, MOQ, price and lead time.